JavaScript 圖像處理之形態學:膨脹與腐蝕算法實現
編輯:關於JavaScript
前言
上一篇我們講解了圖像處理中的閾值函數,這一篇來實現形態學中的兩個基礎操作——膨脹(dilate)與腐蝕(erode)。
什麼是膨脹與腐蝕?
光說概念比較抽象,先看效果圖。原圖如下:

膨脹之後變成:

腐蝕之後則變成:

乍看之下可能有些反直覺:明明是膨脹,字反而變細了;明明是腐蝕,字反而變粗了。其實:
所謂膨脹,指的是較亮的色塊膨脹;所謂腐蝕,指的是較亮的色塊腐蝕。
在上面的圖中,由於白色背景是較亮的色塊,所以膨脹時就把黑色的字「壓」細了;反之腐蝕時,黑色的字就「長」粗了。
用一句話總結其本質:
在指定大小的內核裡尋找最暗或最亮的像素點,並用該點替換掉內核錨點上的像素。
膨脹函數 dilate 的實現
var dilate = function (__src, __size, __borderType, __dst) {
  __src || error(arguments.callee, IS_UNDEFINED_OR_NULL);
  if (__src.type && __src.type == "CV_RGBA") {
    var width = __src.col,
      height = __src.row,
      size = __size || 3,
      dst = __dst || new Mat(height, width, CV_RGBA),
      dstData = dst.data;

    var start = size >> 1;
    var withBorderMat = copyMakeBorder(__src, start, start, 0, 0, __borderType),
      mData = withBorderMat.data,
      mWidth = withBorderMat.col;

    var newOffset, total, nowX, offsetY, offsetI, nowOffset, i, j;

    if (size & 1 === 0) { error(arguments.callee, UNSPPORT_SIZE); return __src; }

    for (i = height; i--;) {
      offsetI = i * width;
      for (j = width; j--;) {
        newOffset = 0;
        total = 0;
        for (y = size; y--;) {
          offsetY = (y + i) * mWidth * 4;
          for (x = size; x--;) {
            nowX = (x + j) * 4;
            nowOffset = offsetY + nowX;
            (mData[nowOffset] + mData[nowOffset + 1] + mData[nowOffset + 2] > total)
              && (total = mData[nowOffset] + mData[nowOffset + 1] + mData[nowOffset + 2])
              && (newOffset = nowOffset);
          }
        }
        dstData[(j + offsetI) * 4] = mData[newOffset];
        dstData[(j + offsetI) * 4 + 1] = mData[newOffset + 1];
        dstData[(j + offsetI) * 4 + 2] = mData[newOffset + 2];
        dstData[(j + offsetI) * 4 + 3] = mData[newOffset + 3];
      }
    }
  } else {
    error(arguments.callee, UNSPPORT_DATA_TYPE);
  }
  return dst;
};
這段代碼的思路是:遍歷內核範圍內的每個像素,用 RGB 三通道數值之和與當前記錄的最大值 total 比較,若新值更大,就更新 total 並把對應偏移量記到 newOffset。內核遍歷結束後,便得到了最亮像素的偏移量,將其顏色賦值給目標位置即可。
腐蝕函數 erode 的實現
腐蝕的邏輯與膨脹恰好相反——只需把「找最大值」改成「找最小值」:
var erode = function (__src, __size, __borderType, __dst) {
  __src || error(arguments.callee, IS_UNDEFINED_OR_NULL);
  if (__src.type && __src.type == "CV_RGBA") {
    var width = __src.col,
      height = __src.row,
      size = __size || 3,
      dst = __dst || new Mat(height, width, CV_RGBA),
      dstData = dst.data;

    var start = size >> 1;
    var withBorderMat = copyMakeBorder(__src, start, start, 0, 0, __borderType),
      mData = withBorderMat.data,
      mWidth = withBorderMat.col;

    var newOffset, total, nowX, offsetY, offsetI, nowOffset, i, j;

    if (size & 1 === 0) { error(arguments.callee, UNSPPORT_SIZE); return __src; }

    for (i = height; i--;) {
      offsetI = i * width;
      for (j = width; j--;) {
        newOffset = 0;
        total = 765;   // 初始最大值取 RGB 之和的理論上限 255*3
        for (y = size; y--;) {
          offsetY = (y + i) * mWidth * 4;
          for (x = size; x--;) {
            nowX = (x + j) * 4;
            nowOffset = offsetY + nowX;
            (mData[nowOffset] + mData[nowOffset + 1] + mData[nowOffset + 2] < total)
              && (total = mData[nowOffset] + mData[nowOffset + 1] + mData[nowOffset + 2])
              && (newOffset = nowOffset);
          }
        }
        dstData[(j + offsetI) * 4] = mData[newOffset];
        dstData[(j + offsetI) * 4 + 1] = mData[newOffset + 1];
        dstData[(j + offsetI) * 4 + 2] = mData[newOffset + 2];
        dstData[(j + offsetI) * 4 + 3] = mData[newOffset + 3];
      }
    }
  } else {
    error(arguments.callee, UNSPPORT_DATA_TYPE);
  }
  return dst;
};
這裡 total 的初始值設為 765(即 255×3),作為比較的起始上限,之後每次找到更小的 RGB 之和就更新,最終得到最暗像素並賦值。
效果展示
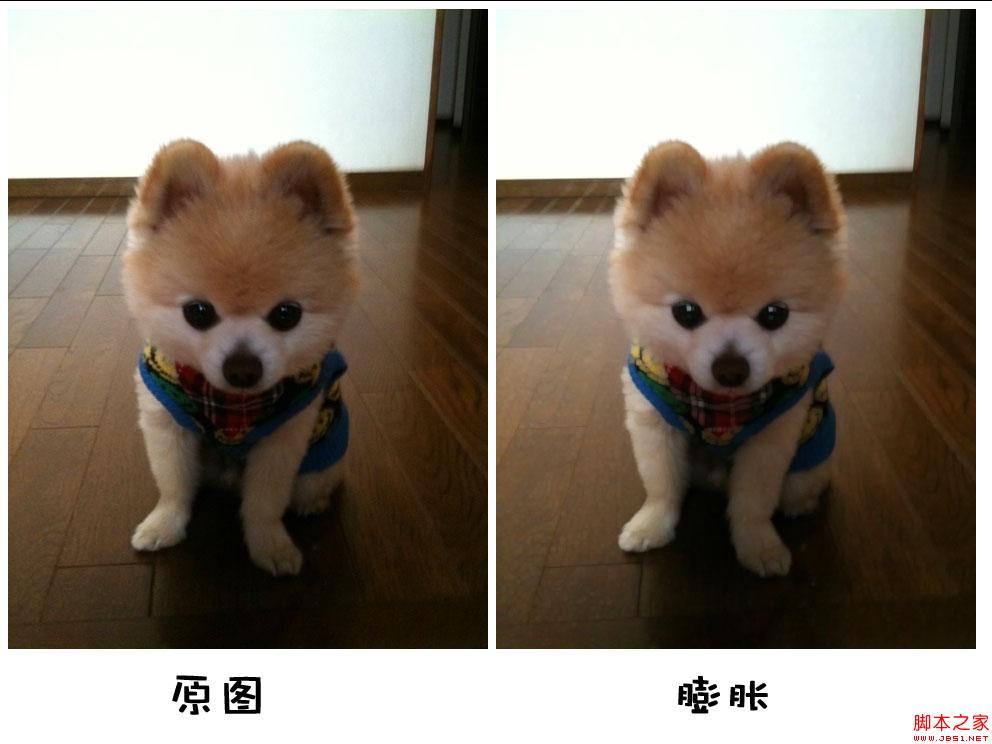
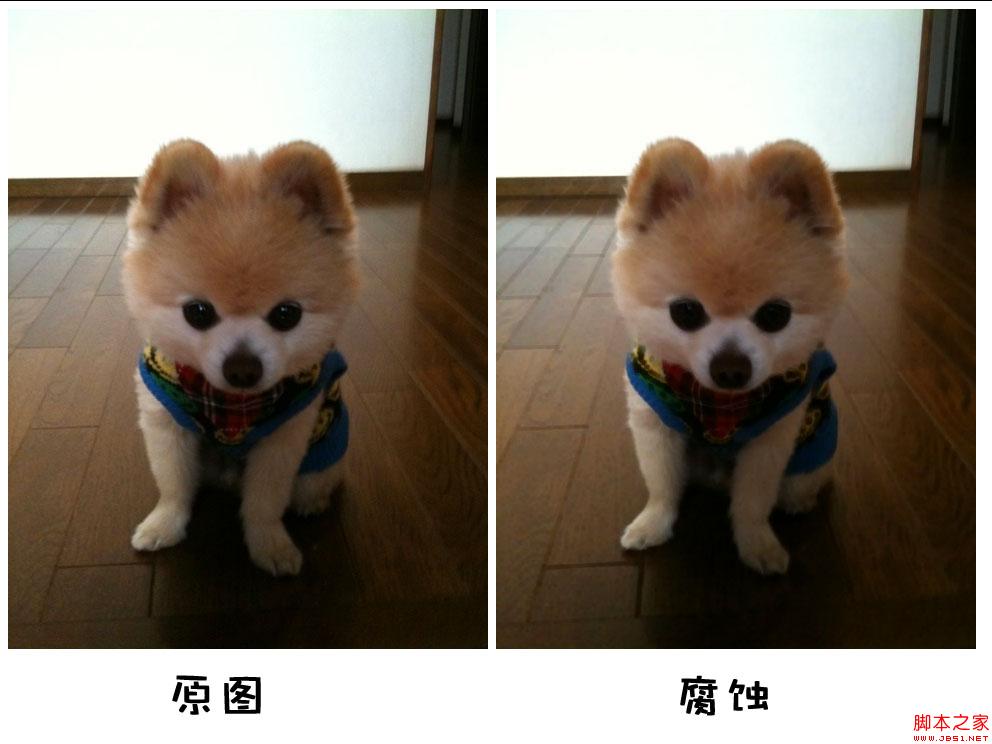
總的來說,形態學的膨脹與腐蝕本質上都是「鄰域取值」的過程,只是取極值的方向相反而已。理解這一點,就能輕鬆掌握了。
- 上一篇文章: 單擊按鈕顯示隱藏子菜單的經典案例
- 下一篇文章: JavaScript 檢測鍵盤按鍵信息與鍵碼值對照大全