用計時器打造圖片的精準縮放效果
編輯:JavaScript基礎知識
用計時器打造圖片的精準縮放效果
網上瀏覽文章時,偶爾會遇到配圖尺寸偏小、細節看不清的狀況,這時候直覺就是把圖放大。實現放大的做法有很多種,本文挑選其中思路清晰、容易上手的一種來演示。
我們透過兩個按鈕來控制圖片的放大與縮小,每次變化的倍率保持一致,同時設定上下限,避免圖片被無限拉伸或壓縮;一旦觸及邊界,還會跳出提示告知使用者。先來看完整程式碼:
<!DOCTYPE html>
<html>
<head>
<meta http-equiv="Content-Type" content="text/html; charset=utf-8"/>
 <title>使用計時器實現圖片的准確縮放_何問起</title>
 <meta charset="utf-8" />
 <style>
 #wrapper {
 width: 500px;
 margin: 0 ;
 position: relative;
 }

 #input {
 position: absolute;
 top: 0px;
 }

 input {
 color: green;
 background: white;
 }
 </style>
</head>
<body>
 <div id="wrapper">
 <div id="input">
 <input type="button" value="放大" id="enlarge"><input type="button" value="縮小" id="narrow">
 </div>
 <img src="https://hovertree.com/hvtimg/bjafjd/wmt3mxd7.png" alt="this is a picture" id="myImage">
 </div>
 <script>
 window.onload=function(){
 var image=document.getElementById("myImage");
 var largeButton=document.getElementById("enlarge");
 largeButton.onclick=function(){
 larger();
 }
 var maxWidth=image.width*2.5;
 var maxHeight=image.height*2.5;
 function larger(){
 var endHeight=image.height*1.3;
 var endWidth=image.width*1.3;
 var largeTimer=setInterval(function(){
 if(image.width<endWidth){
 if(image.width<maxWidth){
 image.width=image.width*1.03;
 image.height=image.height*1.03;
 }else{
 alert("此圖片已經放到了最大。");
 clearInterval(largeTimer);
 }
 }else{
 clearInterval(largeTimer);
 }
 },80);
 }
 var smallButton=document.getElementById("narrow");
 smallButton.onclick=function(){
 smaller();
 }
 var minWidth=image.width*0.5;
 var minHeight=image.height*0.5;
 function smaller(){
 var endWidth=image.width*0.7;
 var endHeight=image.height*0.7;
 var smallTimer=setInterval(function(){
 if(image.width>endWidth){
 if(image.width>minWidth){
 image.width=image.width*0.95;
 image.height=image.height*0.95;
 }else{
 alert("此圖片已經縮到了最小");
 clearInterval(smallTimer);
 }
 }else{
 clearInterval(smallTimer);
 }
 },130);
 }
 }
 </script>
</body>
</html>
線上預覽效果:
https://hovertree.com/texiao/js/33/
這段 JavaScript 裡,有幾個關鍵點值得細細品味:
- 之所以採用 window.onload,是因為即使我們把 script 標籤放在頁面最底部,看似能在 HTML 下載完成後才執行,但圖片未必已經載入完畢,用 window.onload 會更穩妥。
- 頁面載入完成後,script 中的程式碼會由上而下依序執行。宣告變數會得到固定值,例如 maxWidth、maxHeight、minWidth、minHeight 這幾個變數,由於對應語句只跑了一次,它們的值始終不變;而函式內宣告的變數,在函式被呼叫之前不會被賦值。
- 對於計時器 setInterval,我們必須把它賦值給一個變數,這樣後續才能透過 clearInterval 在滿足條件時將計時器停掉。
- 接著上面一點,maxWidth、maxHeight、minWidth、minHeight 的值是固定的,因為它們所在的宣告語句只執行一遍;但 endWidth、endHeight 卻是動態變化的,這裡要特別留意。
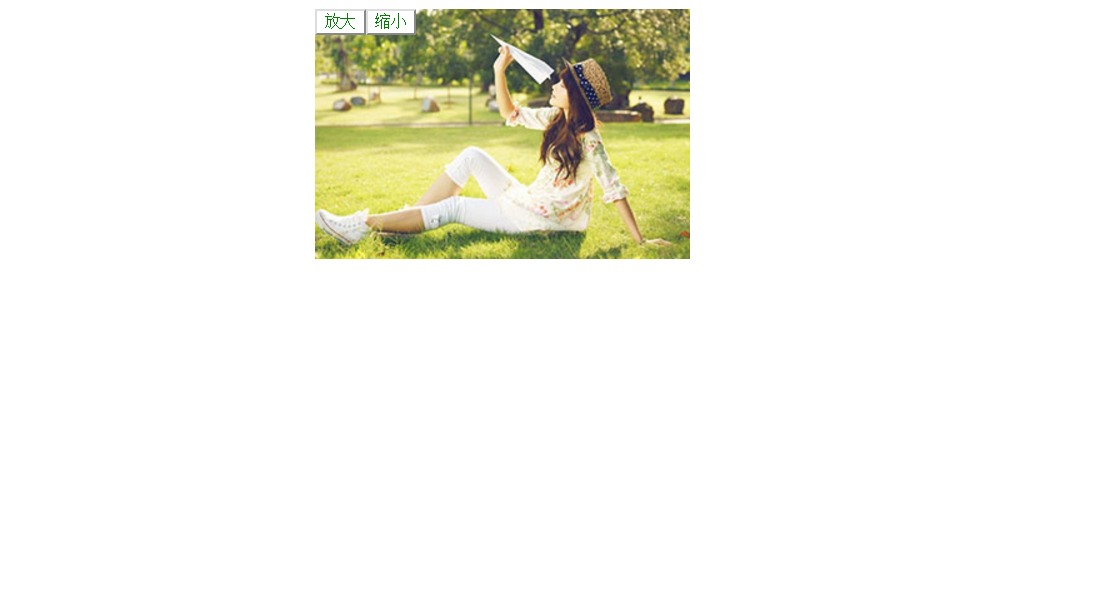
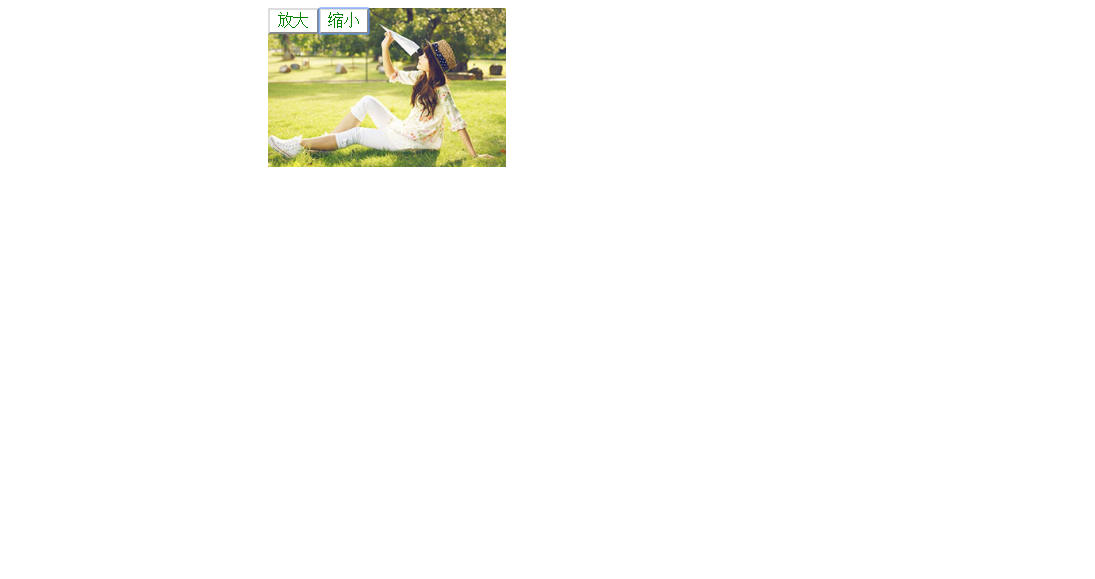
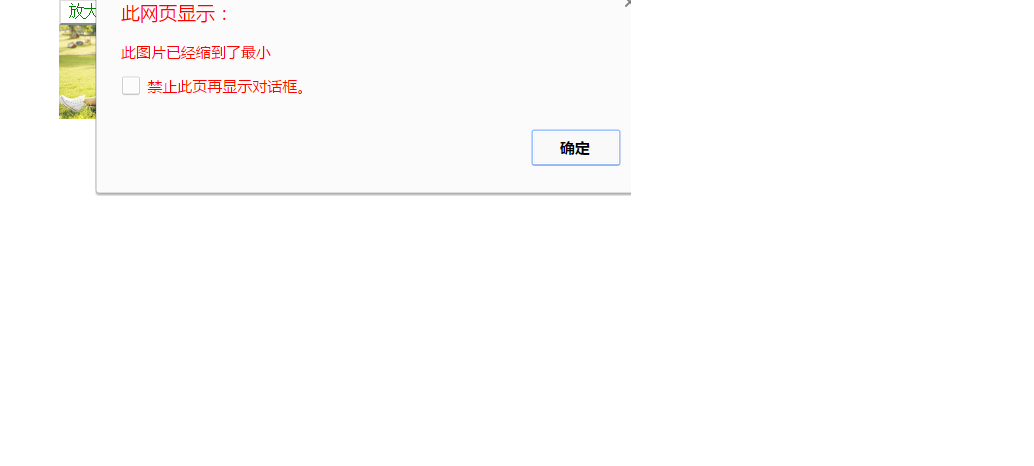
最終呈現的效果如下:
A. 原始尺寸的圖片
B. 放大後的圖片

C. 放大到極限、無法再放大

D. 縮小圖片
E. 縮小到極限、無法再縮小
- 上一篇文章: JavaScript 函數之美:從物件到高階特性
- 下一篇文章: 用正則表達式從文字中辨識並轉換 URL