DIV+CSS 布局入門:從一列固定寬度開始
編輯:CSS詳解
要學會 DIV+CSS 布局,最好從最簡單的實例開始。本文假設你已經具備基本 CSS 基礎,用 Dreamweaver 實作兩個範例:一列固定寬度,以及一列固定寬度並置中。
準備工作
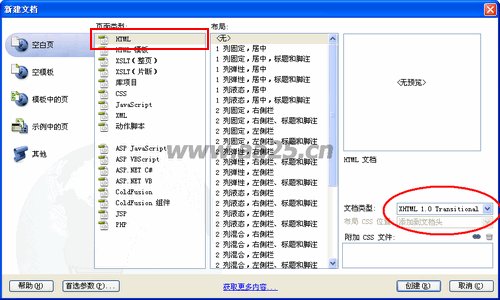
先用 Dreamweaver 新建一個頁面:
實例一:一列固定寬度
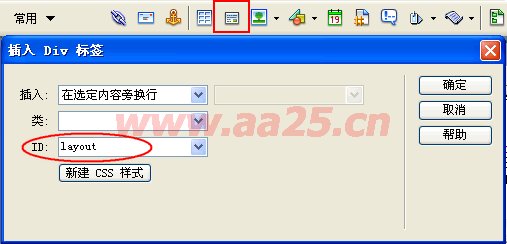
在頁面中插入一個 div。可以點擊工具列的「插入 DIV 標籤」按鈕,在開啟的對話框中於 ID 欄位替它命名,這裡取名 layout(名稱可依需求自訂)。
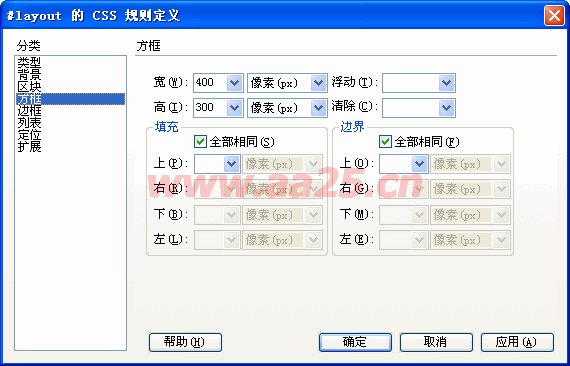
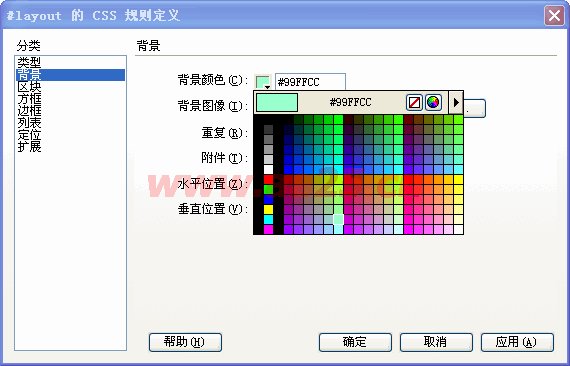
插入後,在右側的 CSS 樣式面板中定義 id 為 layout 的樣式。在方框選項中設定寬度 500、高度 300;為了看清楚起見,順手幫它加上背景色,這樣就能預覽大小與位置。
<!DOCTYPE html PUBLIC "-//W3C//DTD XHTML 1.0 Transitional//EN"
  "https://www.w3.org/TR/xhtml1/DTD/xhtml1-transitional.dtd">
<html xmlns="https://www.w3.org/1999/xhtml">
<head>
<meta http-equiv="Content-Type" content="text/html; charset=gb2312" />
<style type="text/css">
#layout {
  height: 300px;
  width: 400px;
  background: #99FFcc;
}
</style>
</head>
<body>
<div id="layout">此處顯示 id "layout" 的內容</div>
</body>
</html>
實例二:讓它水平置中
只要在樣式中加上 margin: auto; 一個屬性即可:
#layout {
height: 300px;
width: 400px;
background: #99FFcc;
margin: auto;
}
也可以在 Dreamweaver 中做視覺化操作,把 #layout 的四邊 margin 全部設為「自動」:
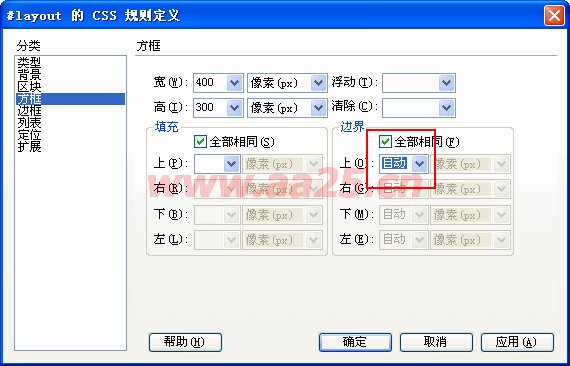
<!DOCTYPE html PUBLIC "-//W3C//DTD XHTML 1.0 Transitional//EN"
  "https://www.w3.org/TR/xhtml1/DTD/xhtml1-transitional.dtd">
<html xmlns="https://www.w3.org/1999/xhtml">
<head>
<meta http-equiv="Content-Type" content="text/html; charset=gb2312" />
<style type="text/css">
#layout {
  height: 300px;
  width: 400px;
  background: #99FFcc;
  margin: auto;
}
</style>
</head>
<body>
<div id="layout">此處顯示 id "layout" 的內容</div>
</body>
</html>
為什麼 margin:auto 能置中
當元素的寬度小於父容器,且左右 margin 都設為 auto 時,瀏覽器會把剩下的空間平均分配給左右兩側,於是元素就水平居中了。這是 DIV+CSS 布局中最基礎、也最該記熟的一招——後續無論是一列、兩列還是三欄,最外層的置中都靠它。
要注意的是,margin:auto 只能水平置中,垂直方向無效。若真的需要垂直居中,得視情況改用 flex 布局的 align-items:center,或絕對定位搭配 transform。
- 上一篇文章: jQuery 選擇器練習大全
- 下一篇文章: DIV+CSS 布局:製作上中下三段式頁面結構