滑鼠移到圖片左右側時顯示箭頭並切換上下頁
編輯:網頁特效代碼
HoverTreeTop 專案新增了圖片瀏覽功能,每頁顯示一張圖片並提供上下頁連結。為了讓操作更直覺,另外加上「點擊圖片左右半邊即可翻頁」的效果,做法同樣是原生 JavaScript。
互動邏輯很單純:游標在圖片上移動時,若位於右半邊就顯示向右的箭頭游標,點擊前往下一頁;位於左半邊則顯示向左箭頭,點擊回到上一頁。支援 Chrome、Firefox、Edge 與 IE。
線上體驗:https://hovertree.com/top/htimg/vhonho/4c42166934eacc92.htm
進入頁面後把游標在圖片上左右移動,就會看到游標變成對應方向的箭頭。
效果預覽:
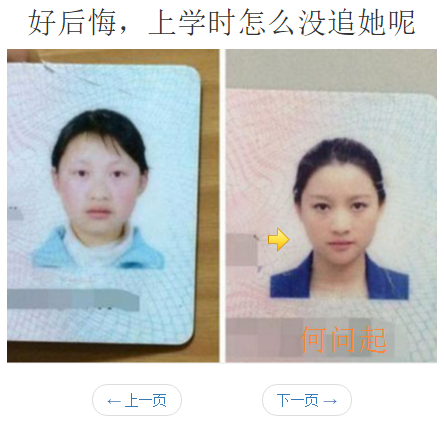
程式碼如下:
<div id="hewenqiArticle">
<h2>文章標題</h2>
<img id='hovertreePicture' src='example.jpg' />
<div id="htprenext">
<ul class="pager">
<li class="previous"><a href='上一頁網址' id='htPre'>← 上一頁</a></li>
<li class="next"><a href='下一頁網址' id='htNext'>下一頁 →</a></li>
</ul>
</div>
</div>
<script>
var h_nextLink = document.getElementById("htNext"),
h_preLink = document.getElementById("htPre");
var h_nexturl = "", h_preurl = "";
if (h_nextLink != null) { h_nexturl = h_nextLink.getAttribute("href"); }
if (h_preLink != null) { h_preurl = h_preLink.getAttribute("href"); }
var h_hwqImg = document.getElementById("hovertreePicture");
function hovertreePreNext(hwqImg, preUrl, nextUrl) {
hwqImg.addEventListener("mousemove", function (event) {
// offsetX 是游標相對於圖片左緣的距離,乘 2 後與寬度比較即可判斷左右半邊
if (event.offsetX * 2 > this.width) {
this.style.cursor = (nextUrl != "")
? 'url(https://hovertree.com/top/themes/img/arr_right.cur),auto'
: 'auto';
} else {
this.style.cursor = (preUrl != "")
? 'url(https://hovertree.com/top/themes/img/arr_left.cur),auto'
: 'auto';
}
});
hwqImg.addEventListener("click", function (event) {
if (event.offsetX * 2 > this.width) {
if (nextUrl != "") { location = nextUrl; }
} else {
if (preUrl != "") { location = preUrl; }
}
});
}
hovertreePreNext(h_hwqImg, h_preurl, h_nexturl);
</script>
幾個實作細節值得留意。
判斷左右半邊用的是 event.offsetX * 2 > this.width,比先減去 boundingRect 再相除更省事,因為 offsetX 本身就是相對目標元素的座標。
游標的寫法裡,url(...) 後面跟著 auto 是必須的 fallback——萬一自訂游標檔載入失敗,瀏覽器還有個預設游標可用,不會變成完全沒有游標。
特別的是,這裡對「沒有上一頁/下一頁」的情況做了判斷:第一頁時左半邊游標維持 auto,點擊也不會跳走。少了這層判斷,使用者點到空白連結往往會直接跳回首頁,體驗很差。
最後提醒一個無障礙上的考量:這種「點擊圖片任意處翻頁」的設計對鍵盤使用者與螢幕閱讀器完全不友善,因為它沒有任何可聚焦的元素。因此頁面下方保留傳統的上一頁/下一頁連結是必要的,兩者並存才能照顧到所有使用者。
- 上一篇文章: jQuery 實作左側懸停彈出的 3D 二級選單
- 下一篇文章: jQuery + HTML5 電子邀請卡倒數計時特效