行動端網頁大量使用載入動畫,若還在用 GIF,往往會遇到解析度不足的問題——放大就模糊,而且無法改色。SVG 是更好的選擇:向量格式永遠清晰、檔案極小、顏色可隨時用 CSS 換掉。
這裡介紹一套由 Aurer 製作的 SVG 載入動畫,前端人員只要複製對應的 SVG 程式碼就能直接用,想深入的同學也可以研究它的編寫原理。
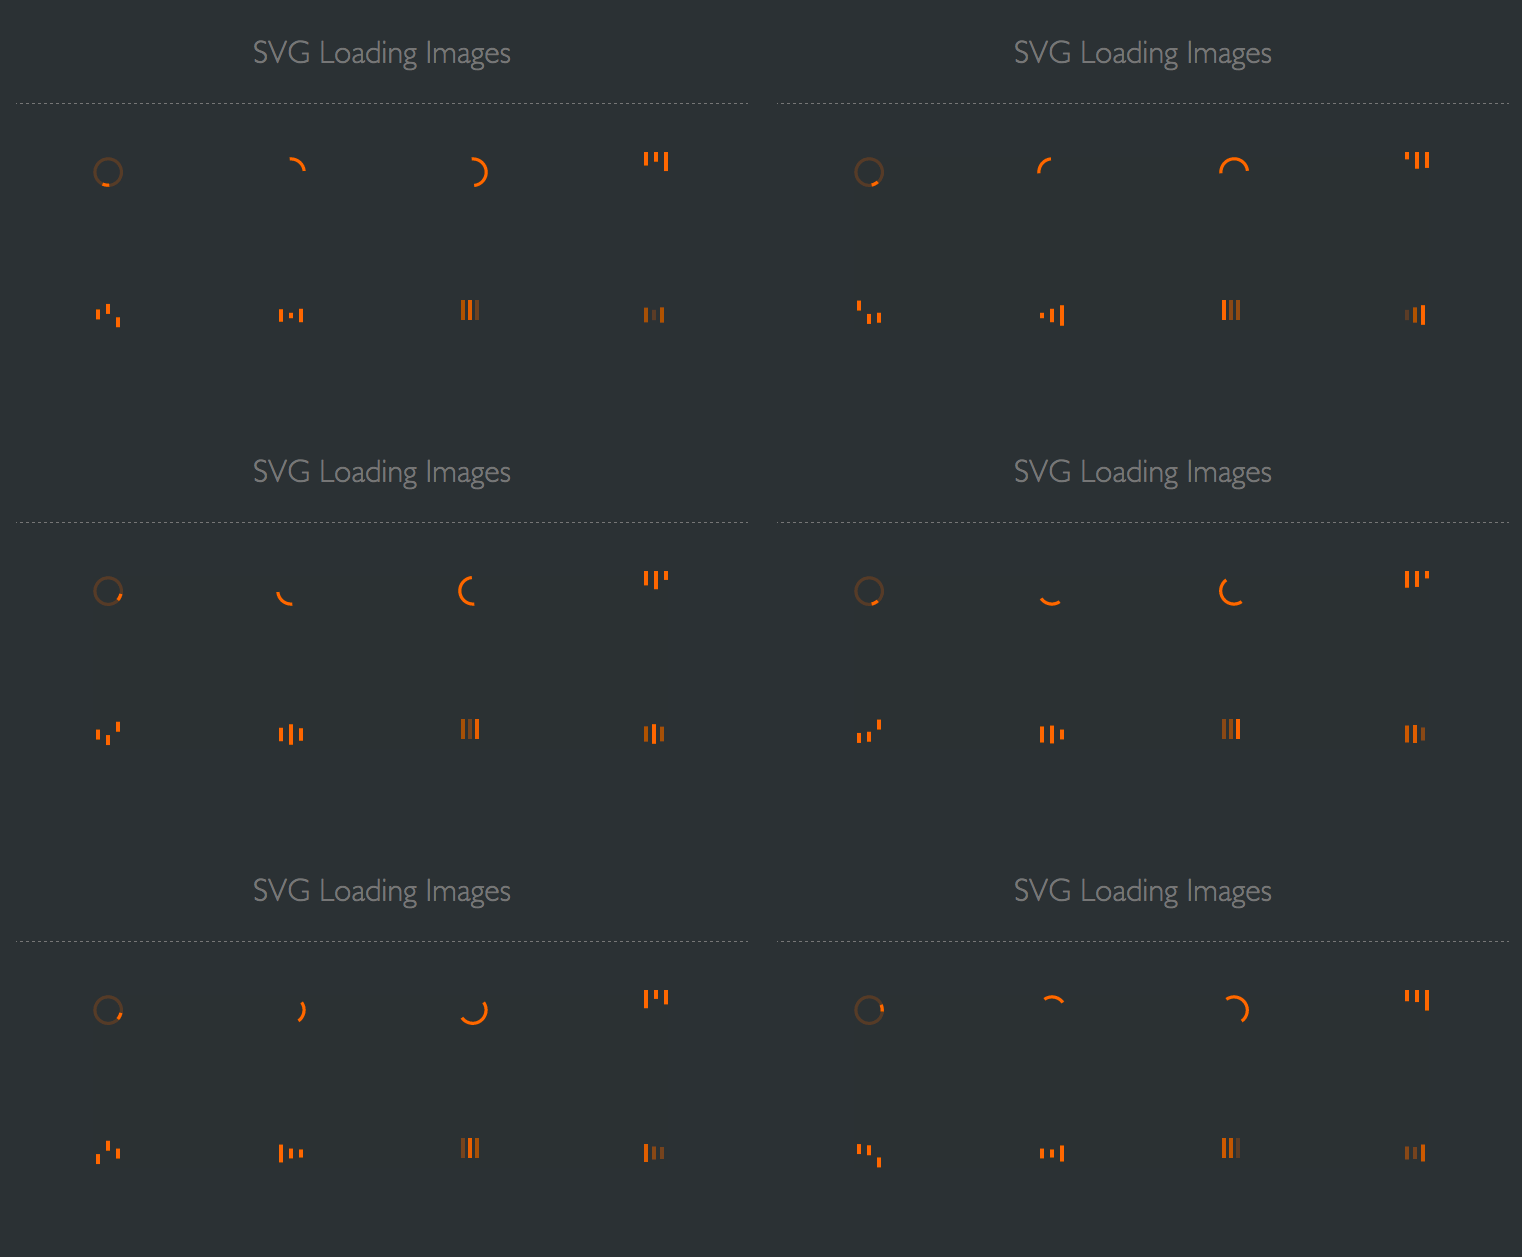
使用教學
STEP 1:把 SVG 程式碼貼進 body
從中挑一個喜歡的樣式複製即可,例如:
<svg version="1.1" id="Layer_1" xmlns="https://www.w3.org/2000/svg"
  xmlns:xlink="https://www.w3.org/1999/xlink" x="0px" y="0px"
  width="24px" height="30px" viewBox="0 0 24 30"
  style="enable-background:new 0 0 50 50;" xml:space="preserve">
  <rect x="0" y="0" width="4" height="10" fill="#333" transform="translate(0 15.1665)">
    <animateTransform attributeType="xml" attributeName="transform" type="translate"
      values="0 0; 0 20; 0 0" begin="0" dur="0.6s" repeatCount="indefinite">
    </animateTransform>
  </rect>
  <rect x="10" y="0" width="4" height="10" fill="#333" transform="translate(0 11.5002)">
    <animateTransform attributeType="xml" attributeName="transform" type="translate"
      values="0 0; 0 20; 0 0" begin="0.2s" dur="0.6s" repeatCount="indefinite">
    </animateTransform>
  </rect>
  <rect x="20" y="0" width="4" height="10" fill="#333" transform="translate(0 1.83315)">
    <animateTransform attributeType="xml" attributeName="transform" type="translate"
      values="0 0; 0 20; 0 0" begin="0.4s" dur="0.6s" repeatCount="indefinite">
    </animateTransform>
  </rect>
</svg>
貼上後動畫就已經跑起來了,只是顏色還是黑的。
STEP 2:用 CSS 換色
在樣式表中加上:
<style>
  svg path, svg rect { fill: #FF6700; }
</style>
把色碼替換成你要的即可。最終效果:

看懂它的原理
這段 SVG 的運作邏輯其實很好讀。三個 rect 是三根短棒,各自帶一個 animateTransform,讓它沿 Y 軸在 0 到 20 之間往返移動(values 中的三段值就是「原位→下移→回原位」),repeatCount="indefinite" 讓它無限循環。
真正的時間差效果來自 begin 屬性:第一根 begin="0",第二根 0.2s,第三根 0.4s。dur 都是 0.6s,但啟動時間錯開,就形成了依序起伏的波浪感。這正是絕大多數載入動畫的心理機制——用輕微的錯時製造「正在進行中」的暗示。
ionic 庫中的載入動畫
ionic 是一套用於開發混合式手機應用的開源免費程式庫,能優化 HTML、CSS、JS 的效能,並可搭配 Sass 與 AngularJS 使用。
安裝很簡單。有 npm 的環境下,Windows 與 Linux 開啟命令列執行:
npm install -g cordova ionicMac 系統需要加 sudo:
sudo npm install -g cordova ionic提示:iOS 相關功能需在 Mac OS X 與 Xcode 環境下使用。若已安裝過,可用以下指令更新:
npm update -g cordova ionic
sudo npm update -g cordova ionic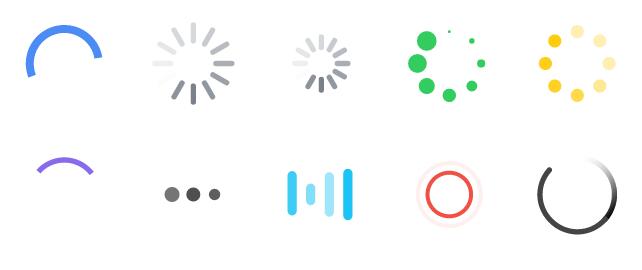
$ionicLoading:ionic 預設的載入效果
HTML 部分:
<ion-view title="Home">
  <ion-header-bar>
    <h1 class="title">The Stooges</h1>
  </ion-header-bar>
  <ion-content has-header="true">
    <ion-list>
      <ion-item ng-repeat="stooge in stooges" href="#">{{stooge.name}}</ion-item>
    </ion-list>
  </ion-content>
</ion-view>
JavaScript 部分:
angular.module('ionicApp', ['ionic'])
.controller('AppCtrl', function($scope, $timeout, $ionicLoading) {

  $ionicLoading.show({
    content: 'Loading',
    animation: 'fade-in',
    showBackdrop: true,
    maxWidth: 200,
    showDelay: 0
  });

  // 實務上應在資料就緒時呼叫 hide(),此處用 timeout 模擬
  $timeout(function () {
    $ionicLoading.hide();
    $scope.stooges = [{name: 'Moe'}, {name: 'Larry'}, {name: 'Curly'}];
  }, 2000);
});
這裡的 showDelay 值得注意:設為 0 表示立刻顯示。若載入通常很快,把它設成兩三百毫秒可以避免動畫閃一下就消失所造成的突兀感——使用者看不到載入,反而會覺得頁面卡頓了一下。
ion-spinner:純樣式的多種轉圈動畫
<ion-spinner icon="android"></ion-spinner>
<ion-spinner icon="ios"></ion-spinner>
<ion-spinner icon="ios-small"></ion-spinner>
<ion-spinner icon="bubbles" class="spinner-balanced"></ion-spinner>
<ion-spinner icon="circles" class="spinner-energized"></ion-spinner>
<ion-spinner icon="crescent" class="spinner-royal"></ion-spinner>
<ion-spinner icon="dots" class="spinner-dark"></ion-spinner>
<ion-spinner icon="lines" class="spinner-calm"></ion-spinner>
<ion-spinner icon="ripple" class="spinner-assertive"></ion-spinner>
<ion-spinner icon="spiral"></ion-spinner>
搭配 CSS 調整尺寸:
p { text-align: center; margin-bottom: 40px !important; }
.spinner svg { width: 19% !important; height: 85px !important; }
angular.module('ionicApp', ['ionic'])
.controller('MyCtrl', function($scope){ });兩相比較,自製 SVG 動畫的優勢是零依賴、體積小、可自由改色;ionic 的優勢則是與框架整合緊密、切換狀態方便。若是純靜態頁面或輕量專案,直接用 SVG 會更俐落。
- 上一篇文章: HTML5 行動端觸摸事件整理:touchstart、touchmove、touchend
- 下一篇文章: 手機端 H5 圖片上傳實戰:Ajax + FormData + FileReader 完整範例
相關文章
-
打造全屏 SVG 加載動畫效果 用純 HTML5 打造一款精緻美感的時鐘 HTML5 + CSS3 實例:讓 SVG 小機器人走起來 SVG 2D 入門 11:SVG 的互動機制與動畫應用完整解析 HTML5 手機 App 開發入門(1):Ionic、Angular 2 與 Android 開發環境建置 HTML5 手機 App 開發入門(2):Ionic v2 與 Angular 2 聯絡人清單實作 用 HTML5+CSS3 做一個會逐層堆疊的生日蛋糕動畫 10 款值得收藏的 SVG 動畫 JavaScript 函式庫 用 SVG 加 CSS3 做一隻會走路的小機器人 六個立刻能用的 H5 動效套路(附相容性提醒)