一、前言
這一講的內容不難,理解起來應該比前幾講更快,因此我只針對重點說明,其餘留給大家自行體會。
先坦白說,我對遊戲開發鑽研不深。現在的工程師流行用 canvas,我卻只會拿幾個 div 硬湊——不過做出來的同樣是遊戲,能動就好。廢話不多說,直接進程式碼。
二、程式碼講解
這次調整一下順序,先看程式碼再來看效果圖。以下是 slg.js 的內容:
var subtractedMargin = 0;    // 垂直位移量
var subtractedMarginL = 0;   // 水平位移量
var mousedown = 0;           // 滑鼠是否按下的旗標

var toright, toleft, todown, toup;   // 四個 setInterval 的 handle

window.onmouseup = function(){
  mousedown = 0;
  clearInterval(toright);  clearInterval(toleft);
  clearInterval(todown);   clearInterval(toup);
};

function mapMove(direction)
{
  switch(direction){
    case "down":  subtractedMargin  -= 15;
                  $("#ID_IMG_MAP").animate({marginTop: subtractedMargin + "px"}, 120);
                  break;
    case "up":    subtractedMargin  += 15;
                  $("#ID_IMG_MAP").animate({marginTop: subtractedMargin + "px"}, 120);
                  break;
    case "right": subtractedMarginL -= 15;
                  $("#ID_IMG_MAP").animate({marginLeft: subtractedMarginL + "px"}, 120);
                  break;
    case "left":  subtractedMarginL += 15;
                  $("#ID_IMG_MAP").animate({marginLeft: subtractedMarginL + "px"}, 120);
                  break;
  }
  // 邊界檢查:超過範圍就停止對應方向的 timer
  if (subtractedMarginL < -415 || subtractedMarginL > -20){
    clearInterval(toright); clearInterval(toleft);
  }
  if (subtractedMargin < -640 || subtractedMargin > -20){
    clearInterval(todown);  clearInterval(toup);
  }
}

$("body").ready(function(){
  $("#ID_DIV_TORIGHT").mousedown(function(){
    mousedown = 1;
    if (subtractedMarginL > -415 && mousedown == 1){
      mapMove("right");
      toright = setInterval(function(){ mapMove("right"); }, 120);
    }
  });
  $("#ID_DIV_TOLEFT").mousedown(function(){
    mousedown = 1;
    if (subtractedMarginL < -20 && mousedown == 1){
      mapMove("left");
      toleft = setInterval(function(){ mapMove("left"); }, 120);
    }
  });
  $("#ID_DIV_TODOWN").mousedown(function(){
    mousedown = 1;
    if (subtractedMargin > -640 && mousedown == 1){
      mapMove("down");
      todown = setInterval(function(){ mapMove("down"); }, 120);
    }
  });
  $("#ID_DIV_TOUP").mousedown(function(){
    mousedown = 1;
    if (subtractedMargin < -20 && mousedown == 1){
      mapMove("up");
      toup = setInterval(function(){ mapMove("up"); }, 120);
    }
  });
});
看到標題時可能不太懂「可移動地圖」是什麼意思,解釋一下:可移動代表地圖能往四面八方捲動,地圖則可以是世界地圖、中國地圖或遊戲地圖——重點是它必須比可視區域大。
HTML 結構
這次的 HTML 格外重要:
<div id="ID_DIV_SLGPAGE"
     style="width:718px; height:500px; border:5px solid lightgray; overflow:hidden;">
  <img src="./picture/map01.jpg" id="ID_IMG_MAP" style="margin-top:0px; margin-left:0px;" />
</div>

<!-- 四塊透明 div 壓在地圖四邊,作為觸發點 -->
<div id="ID_DIV_TORIGHT" style="width:30px; height:500px; position:absolute;
     z-index:9; margin:-508px 0 0 689px;"></div>
<div id="ID_DIV_TOLEFT"  style="width:30px; height:500px; position:absolute;
     z-index:9; margin:-508px 0 0 0px;"></div>
<div id="ID_DIV_TODOWN"  style="width:718px; height:30px; position:absolute;
     z-index:10; margin:-41px 0 0 0px;"></div>
<div id="ID_DIV_TOUP"    style="width:718px; height:30px; position:absolute;
     z-index:10; margin:-508px 0 0 0px;"></div>
三個關鍵設計
第一,overflow: hidden 是捲動的前提。把圖片放進 div 時,容器原本並不會遮住超出的部分;加上 overflow: hidden 之後,視窗就變成一個「取景框」,移動圖片的 margin 就能製造出捲動的錯覺。
第二,用四個透明 div 當觸發區。我在圖片四邊各壓了一塊 div,點擊邊框附近就等於點了 div,於是觸發對應函式。技術含量確實不高,但管用。
第三,用 setInterval 讓地圖持續移動。單純的 click 只能移動一小格。我的做法是:在 mousedown 時啟動一個每 120 毫秒呼叫一次 mapMove() 的計時器,於是只要按住不放,地圖就會連續捲動;在 window.onmouseup 中 clearInterval 全部停掉,這個環節就搞定了。
順帶一提,mapMove 裡的邊界判斷(水平 -415 到 -20、垂直 -640 到 -20)是為了避免把地圖拖出視窗外露出空白背景,數值需依實際圖片與容器尺寸調整。

四、演示效果
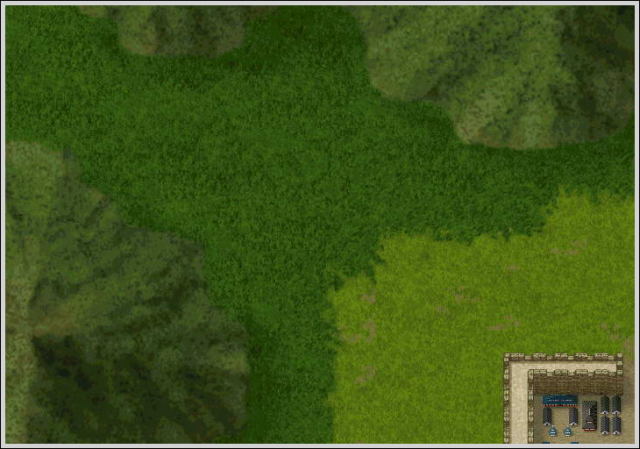
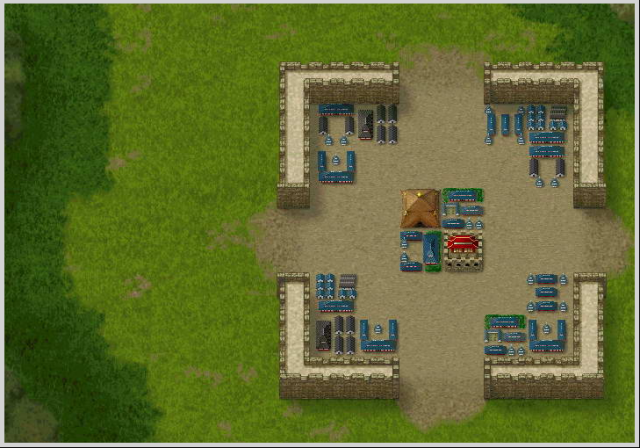
注意:進入 demo 後點擊圖片邊緣即可移動地圖。
「用 JavaScript 開發《三國志曹操傳》」系列差不多到此告一段落,下一次再來研究 HTML5 的遊戲開發,那相信是更上一層的挑戰。
- 上一篇文章: 從百度 ajax.request 原始碼復習 AJAX:讀懂 jQuery.ajax 的前置功課
- 下一篇文章: JavaScript 遊戲開發:《三國志曹操傳》零部件實作(四)用地圖塊拼出大地圖