用純 JavaScript 打造簡單的拖拽效果
編輯:關於JavaScript
在進行前端開發時,我們常常會遇到需要拖拽效果的場景。jQuery UI 的 draggable 固然是個不錯的選擇,但我向來是個喜歡刨根問底的人,於是花了點時間,用原生 JavaScript 手動實作了一個類似的小插件。廢話不多說,直接進入正題。
第一步:HTML 與 CSS
先準備一個待拖曳的方塊,並透過 CSS 讓它脫離正常的文件流、改用絕對定位,同時把游標改成 move 以暗示可拖動:
<head>
    <meta http-equiv="Content-Type" content="text/html; charset=utf-8" />
    <title></title>
    <style>
        * {
            margin: 0;
            padding: 0;
        }
        #div1 {
            position: absolute;
            width: 100px;
            height: 100px;
            cursor: move;
            background-color: red;
        }
    </style>
</head>
<body>
    <div id="div1">
    </div>
</body>
</html>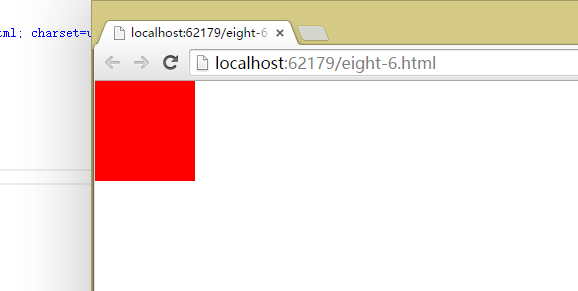
接著先把核心算法跑通。整體思路是:在 mousedown 時記錄滑鼠位置與元素左上角之間的距離,在 mousemove 時據此重新計算元素的新座標,並對邊界做夾制處理,避免方塊被拖出畫面;最後在 mouseup 時清除移動事件。
<script>
    window.onload = function () {
        // 取得需要拖拽的 div
        var div1 = document.getElementById("div1");
        // 監聽滑鼠按下事件
        div1.onmousedown = function (evt) {
            var oEvent = evt || event;
            // 計算按下位置到 div 左上角(left / top)的距離
            var distanceX = oEvent.clientX - div1.offsetLeft;
            var distanceY = oEvent.clientY - div1.offsetTop;
            // 在 document 上監聽滑鼠移動
            document.onmousemove = function (evt) {
                var oEvent = evt || event;
                // 重新計算 div 的 left、top
                var left = oEvent.clientX - distanceX;
                var top = oEvent.clientY - distanceY;
                // left 若小於等於 0,歸零,避免拖出 document 之外
                if (left <= 0) {
                    left = 0;
                }
                // left 若超出文檔右邊界,則貼齊右邊界
                else if (left >= document.documentElement.clientWidth - div1.offsetWidth) {
                    left = document.documentElement.clientWidth - div1.offsetWidth;
                }
                if (top <= 0) {
                    top = 0;
                }
                else if (top >= document.documentElement.clientHeight - div1.offsetHeight) {
                    top = document.documentElement.clientHeight - div1.offsetHeight;
                }
                // 重新賦值
                div1.style.top = top + "px";
                div1.style.left = left + "px";
            }
            // 監聽滑鼠放開事件
            div1.onmouseup = function () {
                // 清空事件
                document.onmousemove = null;
                div1.onmouseup = null;
            }
        }
    }
</script>
第二步:用物件導向重構
上面的寫法能運作,但若頁面上有多個需要拖拽的元素,就會顯得笨重。這時可以把它重構為一個 Drag 類別,讓每個元素各自獨立。先準備兩個方塊:
<style>
    * {
        margin:0;
        padding:0;
    }
    #div1 {
        width: 100px;
        height: 100px;
        background-color: red;
    }
    #div2 {
        background-color:yellow;
        width:100px;
        height:100px;
    }
</style>
<div id="div1"</div>
<div id="div2"</div>
接著是本次的主角——Drag 類別。它把「計算距離」「設定位置」「清除事件」各自封裝成原型方法,並透過 _this 保存 this 指向,避免事件處理函式中的 this 指向錯亂:
function Drag(id) {
    this.div = document.getElementById(id);
    if (this.div) {
        this.div.style.cursor = "move";
        this.div.style.position = "absolute";
    }
    this.disX = 0;
    this.disY = 0;
    var _this = this;
    this.div.onmousedown = function (evt) {
        _this.getDistance(evt);
        document.onmousemove = function (evt) {
            _this.setPosition(evt);
        }
        _this.div.onmouseup = function () {
            _this.clearEvent();
        }
    }
}
Drag.prototype.getDistance = function (evt) {
    var oEvent = evt || event;
    this.disX = oEvent.clientX - this.div.offsetLeft;
    this.disY = oEvent.clientY - this.div.offsetTop;
}
Drag.prototype.setPosition = function (evt) {
    var oEvent = evt || event;
    var l = oEvent.clientX - this.disX;
    var t = oEvent.clientY - this.disY;
    if (l <= 0) {
        l = 0;
    }
    else if (l >= document.documentElement.clientWidth - this.div.offsetWidth) {
        l = document.documentElement.clientWidth - this.div.offsetWidth;
    }
    if (t <= 0) {
        t = 0;
    }
    else if (t >= document.documentElement.clientHeight - this.div.offsetHeight) {
        t = document.documentElement.clientHeight - this.div.offsetHeight;
    }
    this.div.style.left = l + "px";
    this.div.style.top = t + "px";
}
Drag.prototype.clearEvent = function () {
    this.div.onmouseup = null;
    document.onmousemove = null;
}
最後一步:初始化
封裝完成後,只要為每個元素各建立一個 Drag 實例即可,同時支援多個元素各自獨立拖曳:
window.onload = function () {
    new Drag("div1");
    new Drag("div2");
}
效果如下:
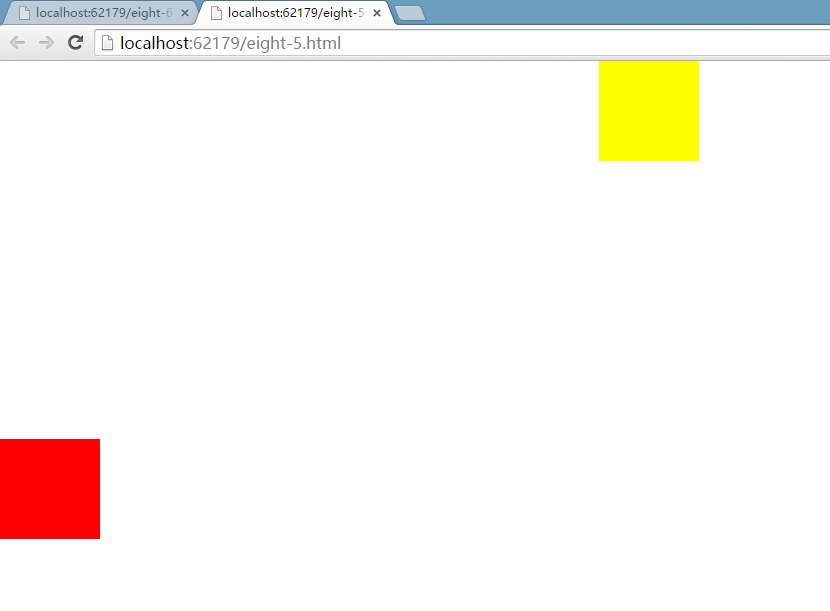
以上就是本文的全部內容。透過這個小練習,我們不只完成了拖拽功能,也順手把物件導向的封裝思路走了一遍,希望能幫助大家更熟練地掌握 JavaScript。
- 上一篇文章: JavaScript 依賴注入完全指南:從概念到實作
- 下一篇文章: 用純 JavaScript 打造商品放大鏡效果