用 jQuery 加 CSS 做一個隨滾動條升降的汽水瓶
編輯:JQuery特效代碼
之前無意間看到國外某個網站把整頁設計成一隻汽水瓶,滾動頁面時瓶中的飲料會跟著慢慢滿起來,覺得挺有意思,於是照著思路自己動手做了一個 Demo。全程沒有用任何外掛,只掛了 jQuery。
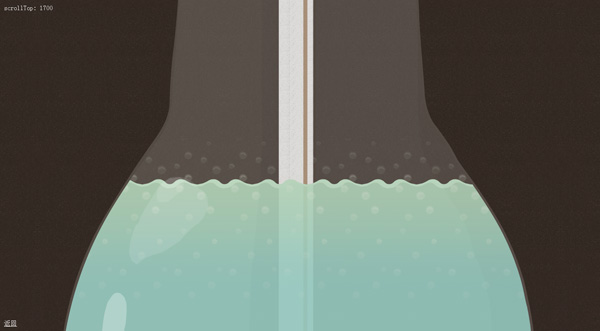
一、思路拆解
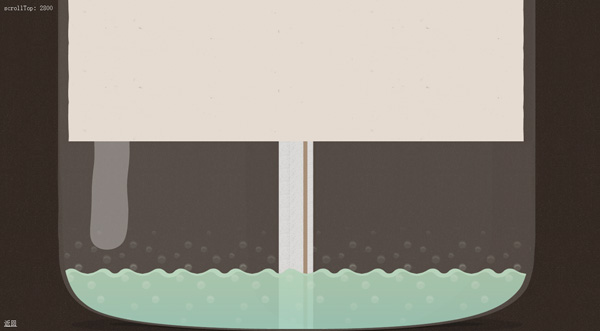
那個網站的做法是把瓶子拆成四張圖:瓶口、瓶身、吸管、瓶底。因為圖片中的瓶身內部是透明的,所以只要在瓶子圖層底下鋪一層沿 X 軸平鋪的飲料圖,視覺上就變成「瓶子裡裝了液體」。吸管則是沿 Y 軸平鋪的一張條狀圖。
接著只要監聽 $(window).scrollTop(),把捲動距離換算成飲料層的 top 值,液體高度自然就會改變。
二、樣式
body { background:#fff url(bg_site.png); margin:0; }

#juice, #juice .inner,
#bottle, #bottle .footer, #bottle .content, #bottle .header,
#mid .inner { margin:0 auto; }

/* #juice 外層用 position:fixed 定位於視窗,margin:0 auto 自然失效;
   #bottle 無法給定明確寬度,所以置中得靠 inner 層處理。
   #bottle 的三個子層分別是瓶底、瓶身、瓶口的背景圖;
   #juice .inner 是橫向平鋪的飲料,#mid .inner 是縱向平鋪的吸管。 */

#monitor {                     /* 左上角除錯用的數值顯示區 */
    position:fixed; top:10px; left:10px;
    color:#f0f0f0; z-index:999;
}

#juice {
    width:99%;
    position:fixed;             /* 相對瀏覽器視窗定位,不隨捲動移動 */
    top:2000px;
}
#juice .inner {
    width:1165px;               /* 內層置中 */
    background:url(juice.png) repeat-x;
    height:2000px;
}

#bottle {
    width:99%;
    text-align:center;
    position:absolute;          /* 避免瓶體被其他定位元素推開 */
    top:0;
}
#bottle .header {               /* 瓶口 */
    background:url(bottle_top.png) no-repeat;
    width:1175px; height:2648px;
}
#bottle .content {              /* 瓶身 */
    background:url(content_bg.png) repeat-y;
    height:500px; width:1186px;
}
#bottle .footer {               /* 瓶底 */
    background:url(bg_footer.png) no-repeat;
    width:1184px; height:567px;
}

#mid {
    width:99%;
    position:fixed;
    z-index:-999;               /* 壓到最底層 */
}
#mid .inner {                   /* 吸管 */
    width:92px; height:2000px;
    background:url(strohalm_mid.png) repeat-y;
}
三、腳本
<script type="text/javascript">
jQuery(document).ready(function ($) {
    $(window).scroll(function () {
        // 隨時監看目前捲動量,方便除錯
        $("#monitor").html("scrollTop: " + $(window).scrollTop());

        if ($(window).scrollTop() < 1108) {
            // 尚未達臨界點:飲料位置隨捲動下移
            $("#juice").css('top', 490 + 815 - $(window).scrollTop());
        } else {
            // 超過臨界點後,改以比例控制液面高度
            $("#juice").css('top', $(window).scrollTop() / 2900 * 580);
        }
        // 1108 為液面應停止上升時的 scrollTop 值
        // 2900 為頁面總高,580 為視窗部分高度
    });
});
</script>
四、結構
<div id="monitor">scrollTop: 0</div>
<div id="juice"><div class="inner"></div></div>
<div id="mid"><div class="inner"></div></div>
<div id="bottle">
    <div class="header"></div>
    <div class="content"></div>
    <div class="footer"></div>
</div>
尾記
這個練習的價值不在成品多實用,而在釐清兩件事:一是 position:fixed 搭配內層 margin:0 auto 可以做出「置中但不隨捲動」的圖層;二是 CSS 負責視覺分層、jQuery 只負責改一個數值,職責切乾淨了,程式碼反而很短。
那些 490、815、2900 之類的數字都是依實際圖片尺寸與頁面高度調出來的經驗值,換素材時記得重新量一次。若只是要快速做出類似效果,直接找現成外掛會輕oler得多。
演示程式碼打包下載請見原頁面。