「拖曳搜索」中的「拖曳」功能需要用到 jQuery UI 的 droppable 元件。效果如下:
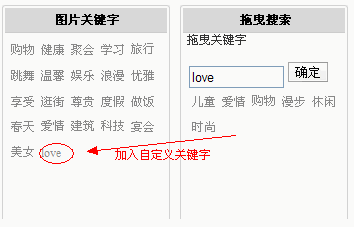
使用方式:把左邊的關鍵字拖曳到右邊框內即可加入搜索;也可以在輸入框輸入自訂關鍵字加入。若要移除不需要的關鍵詞,把它從右邊框拖回左邊即可。
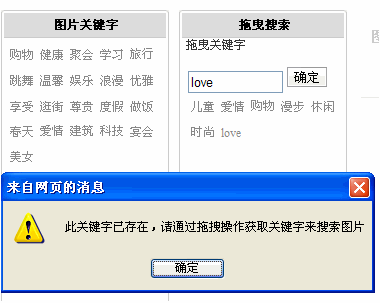
無論是原本就有或自訂加入的關鍵詞,若已存在都會跳出提示。
實作:拖曳關鍵字
先載入 jQuery 與 jQuery UI:
<script type="text/javascript" src="js/jquery-1.4.2.min.js"></script>
<script type="text/javascript" src="js/jquery-ui-1.8.custom.min.js"></script>
左右兩側的容器:
<div id="KeywordContent" class="keyword_content_BackGround ui-droppable">
<a href="#c" value="溫馨" style="cursor:pointer"> 溫馨 </a>
<a href="#c" value="春天" style="cursor:pointer"> 春天 </a>
...
</div>
<div id="keywordIncluding" class="keyword_including">
</div>
拖曳核心程式碼:
$('#keywordIncluding a, #KeywordContent a').draggable({ helper: 'clone' });
//左邊拖到右邊
$('#KeywordContent').droppable({
accept: '#keywordIncluding a',
activeClass: 'keyword_content_active',
opacity: '0.5',
drop: function(ev, ui) {
$(this).addClass('dropped');
ui.draggable.fadeOut('fast', function() { $(this).fadeIn('fast'); }).appendTo($(this));
}
});
//右邊拖回左邊
$('#keywordIncluding').droppable({
accept: '#KeywordContent a',
activeClass: 'including_active',
opacity: '0.5',
drop: function(ev, ui) {
$(this).addClass('dropped');
ui.draggable.fadeOut('normal', function() { $(this).fadeIn('fast'); }).appendTo($(this));
}
});
判斷自訂關鍵字是否已存在,有的話提示、沒有就加入:
$('#AddInput input[type="button"]').click( InputInclude);
function ownKeywordAddInput(evt){ if(evt.keyCode==13){ InputInclude(); } }
function InputInclude(){
$('#keywordIncluding').addClass("dropped");
var own = $('.add_to_search #AddInput input').val();
own = jQuery.trim(own);
if( own.length != 0){
while(own.indexOf('|')>-1){ own = own.replace(/\|/g,""); }
while(own.indexOf(' ')>-1){ own = own.replace(/ /g,""); }
var ExistsKeywordArr = GetExistsKeywordArr();
for(var i=0;i<ExistsKeywordArr.length;i++){
if(ExistsKeywordArr[i]==own){ alert('此關鍵字已存在,請透過拖曳操作獲取關鍵字來搜索圖片'); return; }
}
$('#keywordIncluding').append("<a href='#c' value="+own+" style='cursor:pointer'>"+ own +"</a>");
}
$('#keywordIncluding a').draggable({ helper: 'clone' });
}
function GetExistsKeywordArr(){
var keyArrResult=[];
$("#keywordIncluding a").each(function(i,v){ keyArrResult.push($(v).attr("value")); });
$("#KeywordContent a").each(function(i,v){ keyArrResult.push($(v).attr("value")); });
return keyArrResult;
}
拖曳部分就這樣完成了,若要進一步做到「拖曳即搜索」,再加上 Ajax 即可。
圖片「提示自適應放大」效果
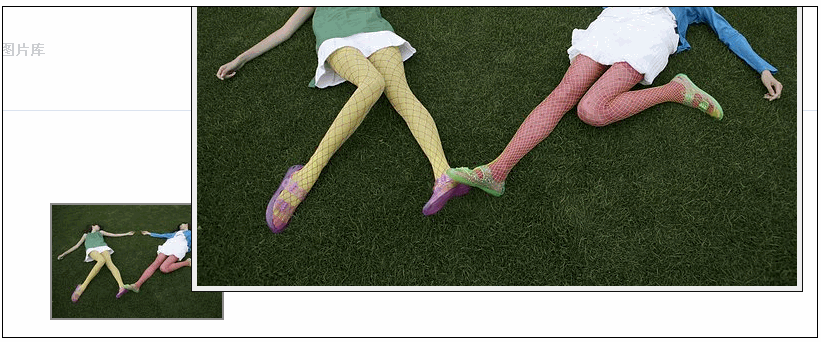
一張小縮略圖,當滑鼠移過時就會出現放大的提示:
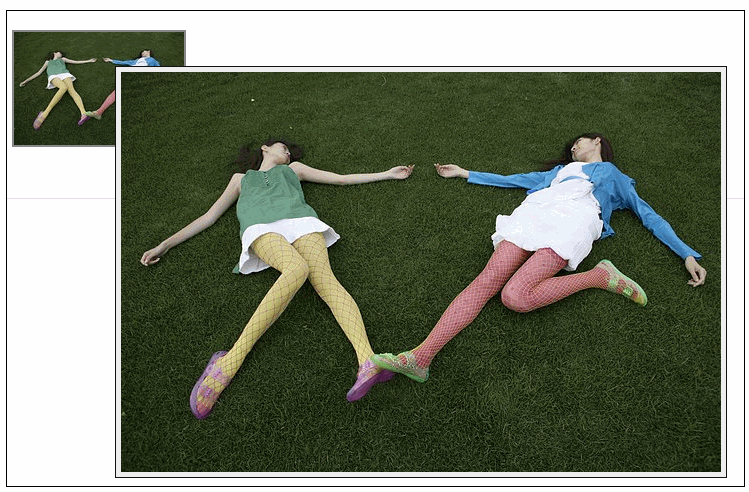
當縮略圖位於頁面不同位置時,放大提示會自動感應要出現在左、右、上或下,不會被瀏覽器邊緣遮住,相當人性化。
<script type="text/javascript" src="js/jquery.tooltip.js"></script>
<li>
<span class="img">
<a href="#"> <img src="1h-3928.jpg" lowsrc="1h-39281.jpg" /> </a>
</span>
</li>
<script type="text/javascript">
$(".img img").tooltip({
track: true,
delay: 1000,
showURL: false,
bodyHandler: function() {
return $("<img/>").attr("src", this.lowsrc);
}
});
</script>
作者:曾祥展 出處:https://zengxiangzhan.cnblogs.com/
- 上一篇文章: jQuery 新手常見問題整理與解答
- 下一篇文章: jQuery 取得表單 input 值的常用寫法