BigPipe 是 Facebook 提出來的一種頁面加速思路。奇怪的是,網路上談它的文章不少,但真正動手用 Node.js 寫一遍的例子卻寥寥無幾——用其他語言實作的就更罕見了。也因為這樣,我誤解了它很長一段時間:一直以為 BigPipe 不外乎先把整個頁面骨架送出,再補幾個 AJAX 請求去撈區塊回來填。直到最近才搞明白,它的核心其實樸素得驚人——全程只有一個 HTTP 請求,只是頁面各元素的送出順序不再跟 HTML 裡的先後一致而已。
抓住這個要點,剩下的就好辦了。Node.js 天生非阻塞,拿來做這件事幾乎是順水推舟。本文會從「為什麼需要 BigPipe」講起,一步步搭出一個可運行的最小實作。
示範用 express,模板引擎挑 jade。這裡刻意不用引擎自帶的 partial 機制,而是先把子模板渲染成 HTML 字串,再當成資料餵給父模板——這樣做能讓整個資料流動得更清楚。
先建一個 nodejs-bigpipe 目錄,寫好 package.json:
{
  "name": "bigpipe-experiment"
  , "version": "0.1.0"
  , "private": true
  , "dependencies": {
      "express": "3.x.x"
    , "consolidate": "latest"
    , "jade": "latest"
  }
}
跑 npm install 把三個套件裝起來。consolidate 的作用只是讓 jade 的呼叫方式統一好看一些。
第一步:最樸素的版本
app.js:
var express = require('express')
  , cons = require('consolidate')
  , jade = require('jade')
  , path = require('path')

var app = express()

app.engine('jade', cons.jade)
app.set('views', path.join(__dirname, 'views'))
app.set('view engine', 'jade')

app.use(function (req, res) {
  res.render('layout', {
      s1: "Hello, I'm the first section."
    , s2: "Hello, I'm the second section."
  })
})

app.listen(3000)
views/layout.jade:
doctype html

head
  title Hello, World!
  style
    section {
      margin: 20px auto;
      border: 1px dotted gray;
      width: 80%;
      height: 150px;
    }

section#s1!=s1
section#s2!=s2
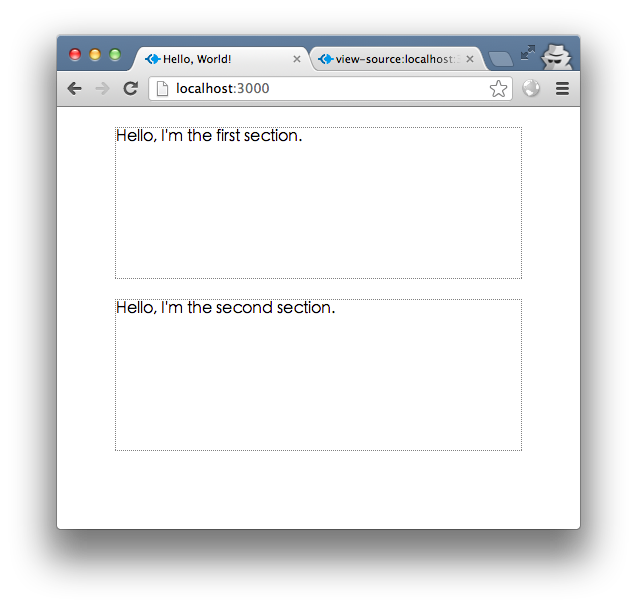
跑起來就是兩個虛線框:
第二步:把區塊拆成獨立模板
接著把兩個 section 各自搬進自己的檔案。
views/s1.jade:
h1 Partial 1
.content!=content
views/s2.jade:
h1 Partial 2
.content!=content
layout.jade 的 style 補上幾條規則,讓標題和內容有基本的層次:
section h1 {
  font-size: 1.5;
  padding: 10px 20px;
  margin: 0;
  border-bottom: 1px dotted gray;
}
section div {
  margin: 10px;
}
app.js 中的 app.use() 改寫成:
var temp = {
    s1: jade.compile(fs.readFileSync(path.join(__dirname, 'views', 's1.jade')))
  , s2: jade.compile(fs.readFileSync(path.join(__dirname, 'views', 's2.jade')))
}
app.use(function (req, res) {
  res.render('layout', {
      s1: temp.s1({ content: "Hello, I'm the first section." })
    , s2: temp.s2({ content: "Hello, I'm the second section." })
  })
})
這就是前面那句「用子模板渲染後的 HTML 當父模板資料」的具體模樣:temp.s1、temp.s2 各自吐出 s1.jade 與 s2.jade 的 HTML,這兩段字串再塞進 layout.jade 的 s1、s2 變數裡。
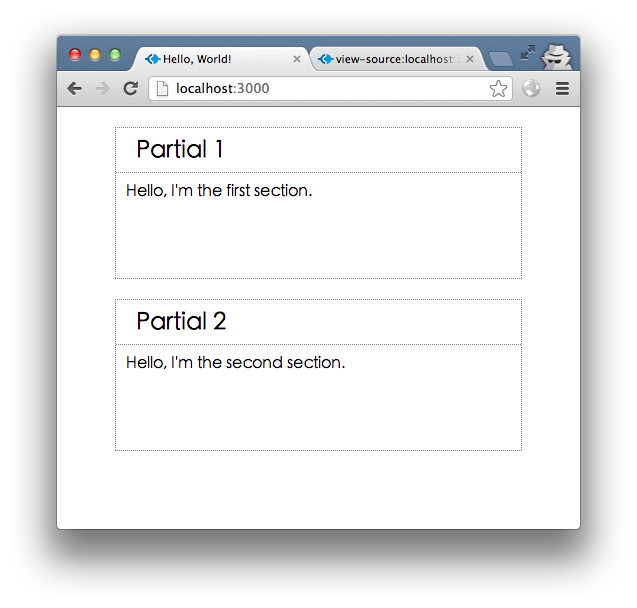
畫面現在長這樣:
第三步:資料其實是異步來的
真實場景裡,兩個區塊的資料來源各自獨立——可能一次查資料庫、一次打 RESTful 介面。用兩個函數模擬這種異步:
var getData = {
    d1: function (fn) {
      setTimeout(fn, 3000, null, { content: "Hello, I'm the first section." })
    }
  , d2: function (fn) {
      setTimeout(fn, 5000, null, { content: "Hello, I'm the second section." })
  }
}
最直覺的寫法是嵌套回呼:
app.use(function (req, res) {
  getData.d1(function (err, s1data) {
    getData.d2(function (err, s2data) {
      res.render('layout', {
          s1: temp.s1(s1data)
        , s2: temp.s2(s2data)
      })
    })
  })
})
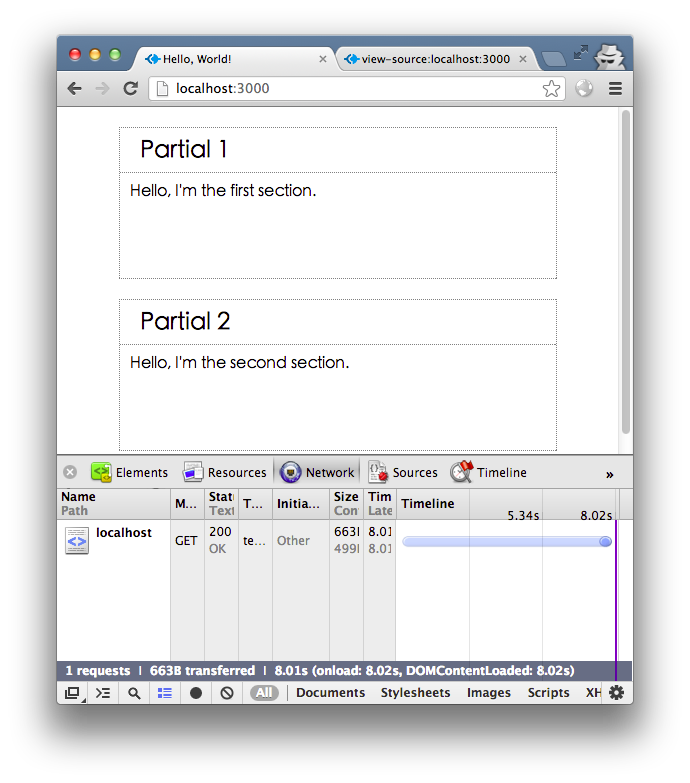
結果正確,但要等 8 秒。
問題很明顯:d2 根本不需要等 d1,兩者沒有依賴關係,卻被寫成了串行。async 這類函式庫能解決,但這裡手寫一個計數器就夠了:
app.use(function (req, res) {
  var n = 2
    , result = {}
  getData.d1(function (err, s1data) {
    result.s1data = s1data
    --n || writeResult()
  })
  getData.d2(function (err, s2data) {
    result.s2data = s2data
    --n || writeResult()
  })
  function writeResult() {
    res.render('layout', {
        s1: temp.s1(result.s1data)
      , s2: temp.s2(result.s2data)
    })
  }
})
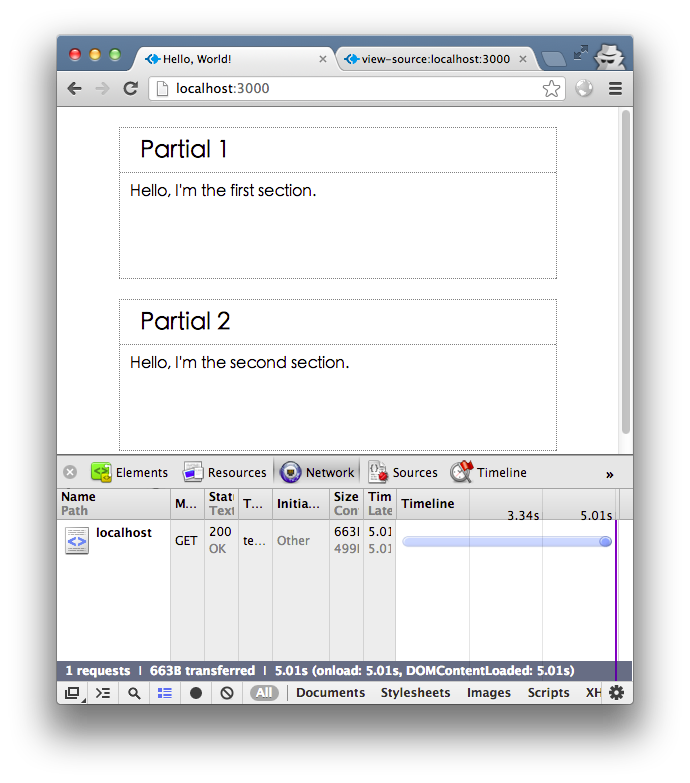
時間縮到 5 秒——瓶頸變成比較慢的那一個。
第四步:把靜態資源也放進來
接下來引入 jQuery,把 CSS 抽到外部檔案,順便把稍後瀏覽器端渲染 jade 要用的 runtime.js 也一起準備好。在 app.js 所在目錄執行:
mkdir static
cd static
curl https://code.jquery.com/jquery-1.8.3.min.js -o jquery.js
ln -s ../node_modules/jade/runtime.min.js jade.js
把 layout.jade 裡 style 標籤的內容搬到 static/style.css,head 改成:
head
  title Hello, World!
  link(href="/static/style.css", rel="stylesheet")
  script(src="/static/jquery.js")
  script(src="/static/jade.js")
在 app.js 裡把靜態資源的延遲模擬成兩秒,加在 app.use 之前:
var static = express.static(path.join(__dirname, 'static'))
app.use('/static', function (req, res, next) {
  setTimeout(static, 2000, req, res, next)
})
於是整體載入時間被拉到 7 秒左右。
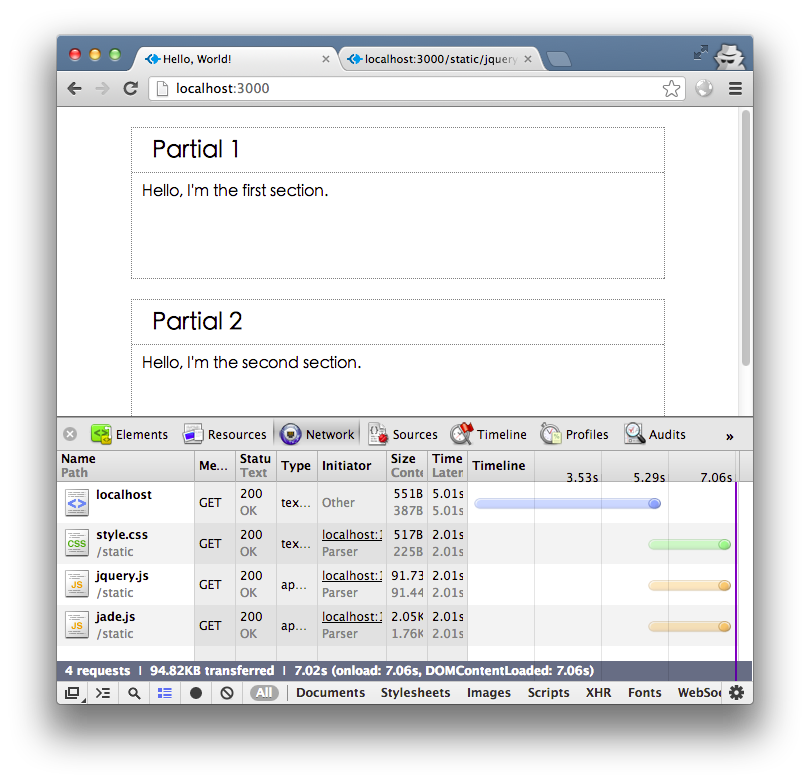
第五步:改用分塊傳輸
關鍵想法是:一收到請求就先把 head 送出去,兩個區塊等資料回來再補。這靠的是 HTTP 的分塊傳輸編碼(chunked transfer encoding)。在 Node.js 裡,只要呼叫 res.write(),Transfer-Encoding: chunked 這個 header 就會自動被加上。
如此一來,瀏覽器下載靜態檔案的同時,伺服器還在等異步結果,兩件事重疊進行。先把 layout.jade 尾端的兩行移掉:
section#s1!=s1
section#s2!=s2
res.render() 也就不需要再傳 { s1: …, s2: … }。注意 res.render() 預設會順手呼叫 res.end(),所以我們改傳回呼函數,在其中用 res.write() 輸出,並手動補上 content-type:
app.use(function (req, res) {
  res.render('layout', function (err, str) {
    if (err) return res.req.next(err)
    res.setHeader('content-type', 'text/html; charset=utf-8')
    res.write(str)
  })
  var n = 2
  getData.d1(function (err, s1data) {
    res.write('<section id="s1">' + temp.s1(s1data) + '</section>')
    --n || res.end()
  })
  getData.d2(function (err, s2data) {
    res.write('<section id="s2">' + temp.s2(s2data) + '</section>')
    --n || res.end()
  })
})
總時間回到 5 秒左右。實際跑起來的時間軸是:瀏覽器先拿到 head,接著花兩秒抓三個靜態檔;第 3 秒冒出 Partial 1;第 5 秒補上 Partial 2,載入結束。截圖跟前面 5 秒那張一樣,就不重複貼了。
第六步:順序失控,於是有了 BigPipe
但這裡藏著一個陷阱:能符合預期,純粹是因為 d1 剛好比 d2 快。也就是說,畫面上誰先出現,取決於後端哪個介面先回。把 d1 改成 8 秒,Partial 2 就會先跳出來,s1、s2 的順序整個對調,跟設計稿完全不符。
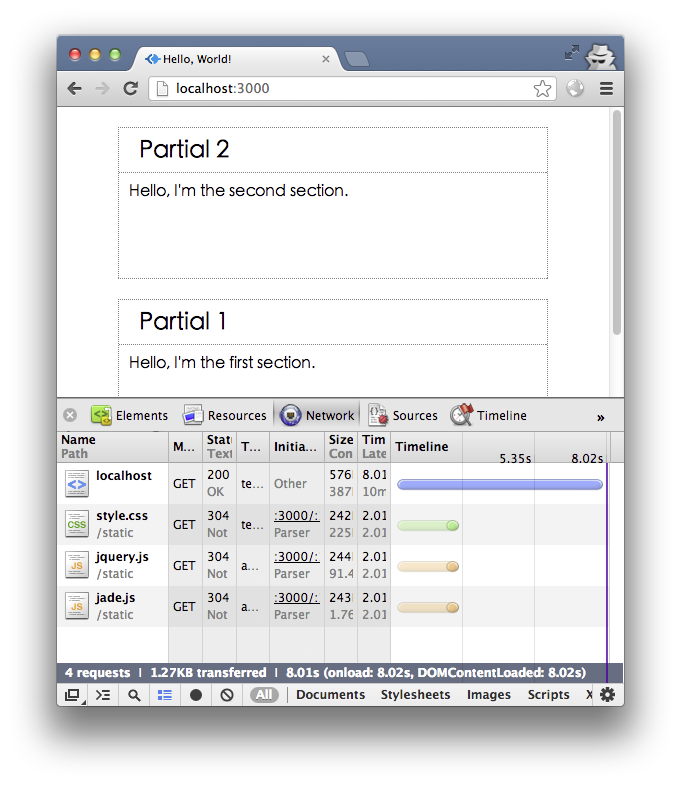
這個惱人的問題,正好把我們推到 BigPipe 面前。BigPipe 的價值就在於:讓畫面的呈現順序,和資料送達的順序徹底解耦。
做法分兩半。先把整體骨架送出來,尚未就緒的位置用空標籤佔著:
res.render('layout', function (err, str) {
  if (err) return res.req.next(err)
  res.setHeader('content-type', 'text/html; charset=utf-8')
  res.write(str)
  res.write('<section id="s1"></section><section id="s2"></section>')
})
資料回來之後,用 JavaScript 把內容塞進佔位元素:
getData.d1(function (err, s1data) {
  res.write('<script>$("#s1").html("' + temp.s1(s1data).replace(/"/g, '\\"') + '")</script>')
  --n || res.end()
})
s2 同理。這時候重新載入你會看到:第 2 秒出現兩個空白虛線框,第 5 秒 Partial 2 進場,第 8 秒 Partial 1 補上,請求收尾。順序終於不受網路快慢左右了。
至此,一個最基礎的 BigPipe 頁面就算完成了。
一個容易踩的坑
如果要插入的片段本身含有 script 標籤,會出事。把 s1.jade 改成:
h1 Partial 1
.content!=content
script
  alert("alert from s1.jade")
重新整理後會發現 alert 沒跳,頁面還報錯。看原始碼就明白了:字串裡出現的 </script> 提早關掉了外層 script。把它轉義掉即可:
res.write('<script>$("#s1").html("' + temp.s1(s1data).replace(/"/g, '\\"').replace(/<\/script>/g, '<\\/script>') + '")</script>')
封裝成可重複使用的方法
原理講完了,實務上當然不希望每個區塊都手寫一遍。下面是一個粗糙但可用的封裝,拋磚引玉:
var resProto = require('express/lib/response')
resProto.pipe = function (selector, html, replace) {
  this.write('<script>' + '$("' + selector + '").' +
    (replace === true ? 'replaceWith' : 'html') +
    '("' + html.replace(/"/g, '\\"').replace(/<\/script>/g, '<\\/script>') +
    '")</script>')
}
function PipeName (res, name) {
  res.pipeCount = res.pipeCount || 0
  res.pipeMap = res.pipeMap || {}
  if (res.pipeMap[name]) return
  res.pipeCount++
  res.pipeMap[name] = this.id = ['pipe', Math.random().toString().substring(2), (new Date()).valueOf()].join('_')
  this.res = res
  this.name = name
}
resProto.pipeName = function (name) {
  return new PipeName(this, name)
}
resProto.pipeLayout = function (view, options) {
  var res = this
  Object.keys(options).forEach(function (key) {
    if (options[key] instanceof PipeName) options[key] = '<span id="' + options[key].id + '"></span>'
  })
  res.render(view, options, function (err, str) {
    if (err) return res.req.next(err)
    res.setHeader('content-type', 'text/html; charset=utf-8')
    res.write(str)
    if (!res.pipeCount) res.end()
  })
}
resProto.pipePartial = function (name, view, options) {
  var res = this
  res.render(view, options, function (err, str) {
    if (err) return res.req.next(err)
    res.pipe('#'+res.pipeMap[name], str, true)
    --res.pipeCount || res.end()
  })
}
app.get('/', function (req, res) {
  res.pipeLayout('layout', {
      s1: res.pipeName('s1name')
    , s2: res.pipeName('s2name')
  })
  getData.d1(function (err, s1data) {
    res.pipePartial('s1name', 's1', s1data)
  })
  getData.d2(function (err, s2data) {
    res.pipePartial('s2name', 's2', s2data)
  })
})
layout.jade 記得把兩個 section 加回來:
section#s1!=s1
section#s2!=s2
思路是:需要延後的內容先用 span 佔位,等異步資料與模板都渲染好之後再送出,最後用 jQuery 的 replaceWith 把佔位元素換成真身。
完整程式碼放在 https://github.com/undozen/bigpipe-on-node ,每一步都對應一個 commit。建議 clone 下來實際跑跑看——後面幾步的效果跟載入順序有關,截圖看不出來,得自己開瀏覽器才有感覺。
BigPipe 的實踐還有很大空間。例如可以給每個區塊設一個觸發時間門檻:資料回得快就直接整頁送出,只有超過門檻才走 BigPipe。相比 AJAX 方案,BigPipe 同時省下了瀏覽器到 Node 伺服器、以及 Node 伺服器到資料源的請求數。至於更細節的調優,等實際 production 環境驗證過再來分享。
- 上一篇文章: 用 Node.js 打造簡易網頁抓取功能的實務分享
- 下一篇文章: Node.js 裡讓非同步流程乖乖排隊的三種做法