JS 輪播圖實作(一):手動與自動輪播的核心邏輯
編輯:關於JavaScript
一、實作原理
(1)把所有圖片放在同一個父容器 div 內,用 display 控制各張圖的顯示與隱藏;
(2)輪播分為手動與自動兩種。手動的重點是點擊下方圓點時取得它的索引,讓對應索引的圖片顯示,並把該圓點設為高亮;自動則是用 setInterval() 每隔一段時間換一張;
(3)需要用到的基礎知識:DOM 操作、計時器、事件。
二、頁面結構
 <div id="content">
 <!-- 總容器 -->
 <div class="carousel-inner">
 <!-- 圖片容器 -->
 <div class="item "><img src="./img/lunbo1.jpg" alt="第一張圖片"></div>
 <div class="item"><img src="./img/lunbo2.jpg" alt="第二張圖片"></div>
 <div class="item"><img src="./img/lunbo3.jpg" alt="第三張圖片"></div>
 </div>
 <!-- 圖片下方的指示圓點 -->
 <ul class="carousel-indicators">
 <li id='pic1'>●</li>
 <li id='pic2'>●</li>
 <li id='pic3'>●</li>
 </ul>
 <!-- 左右箭頭 -->
 <a href="#" class="carousel-control prev"><span><</span></a>
 <a href="#" class="carousel-control next"><span>></span></a>
 </div>
三、CSS 樣式
 #content{ width: 100%; height:500px; position: relative; }
 .carousel-inner{ position: relative; width: 100%; overflow: hidden; height:500px; }
 .carousel-inner>.item>img{ display: block; line-height: 1; z-index: 1; }
 .carousel-indicators{ position: absolute; bottom:10px; left:45%; z-index: 2; list-style-type: none; }
 .carousel-indicators li{ display:inline-block; padding: 0 15px; font-size: 24px; color:#999; cursor: pointer; z-index: 2; }
 .active1{ font-size: 28px; color:#fff; }
 .carousel-control{ position: absolute; text-decoration:none; color: #999; font-weight: bold; opacity: .5; font-size: 40px; z-index: 3; }
 .carousel-control:hover{ color:#fff; text-decoration: none; opacity: .9; outline: none; font-size: 42px; }
 .prev{ top: 30%; left:20px; }
 .next{ top:30%; right: 20px; }
四、JavaScript 實作
 window.onload = function(){
   // 輪播初始化
   var lunbo = document.getElementById('content');
   var imgs  = lunbo.getElementsByTagName('img');
   var uls   = lunbo.getElementsByTagName('ul');
   var lis   = lunbo.getElementsByTagName('li');

   // 初始狀態:第一個圓點高亮
   lis[0].style.fontSize = '26px';
   lis[0].style.color = '#fff';

   // 自動輪播的索引
   var pic_index = 1;

   // 自動輪播;用 pic_time 記錄計時器,方便隨時 clearInterval()
   var pic_time = setInterval(autobofang, 3000);

   // 手動輪播
   for (var i = 0; i < lis.length; i++) {
     lis[i].addEventListener("mouseover", change, false);
   }
   function change(event){
     var event = event || window.event;
     var target = event.target || event.srcElement;
     var children = target.parentNode.children;
     for (var i = 0; i < children.length; i++) {
       if (target == children[i]) {
         picChange(i);
       }
     }
   }

   // 圖片切換
   function picChange(i){
     for (var j = 0; j < imgs.length; j++) {
       imgs[j].style.display = 'none';
       lis[j].style.fontSize = '24px';
       lis[j].style.color = '#999';
     }
     imgs[i].style.display = 'block';
     lis[i].style.fontSize = '26px';
     lis[i].style.color = '#fff';
   }

   // 自動播放
   function autobofang(){
     if (pic_index >= lis.length) {
       pic_index = 0;
     }
     change1(pic_index);
     pic_index++;
   }

   // 自動播放中的額外處理
   function change1(index){
     picChange(index);
     uls[0].addEventListener("mouseover", pause, false);
     uls[0].addEventListener("mouseout", go, false);
   }

   function pause(event){
     var event = event || window.event;
     var target = event.target || event.srcElement;
     switch(target.id){
       case "pic1": clearInterval(pic_time); break;
       case "pic2": clearInterval(pic_time); break;
       case "pic3": clearInterval(pic_time); break;
     }
   }

   function go(event){
     var event = event || window.event;
     var target = event.target || event.srcElement;
     switch(target.id){
       case "pic1": pic_index = 1; pic_time = setInterval(autobofang, 3000); break;
       case "pic2": pic_index = 2; pic_time = setInterval(autobofang, 3000); break;
       case "pic3": pic_index = 3; pic_time = setInterval(autobofang, 3000); break;
     }
   }
 }
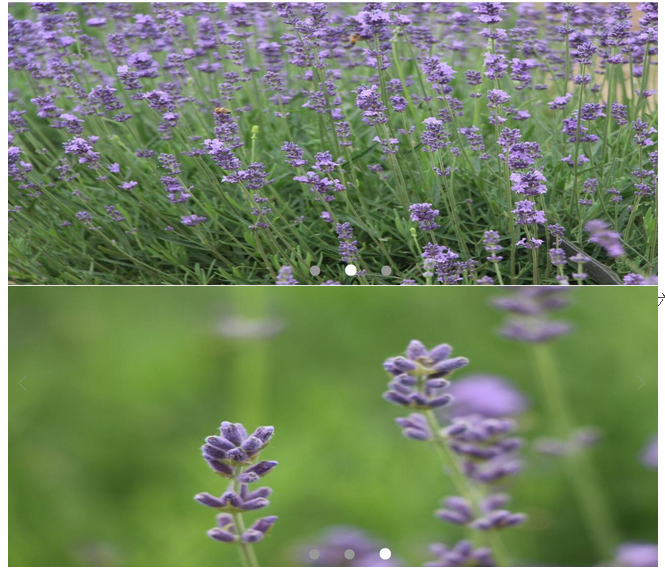
五、效果預覽
六、遇到的問題與不足
問題:滑鼠第一次移入 ul 時自動輪播停止,移出後繼續,但隨著時間推移,切換速度會越來越快,而且此時點擊 ul 已經無法暫停。
原因:重新啟動計時器時沒有把新的計時器編號賦回 pic_time,於是 clearInterval(pic_time) 清除的是舊編號,新計時器永遠停不下來,同時每次移出又多加一個計時器,速度自然越跑越快。
這其實是所有計時器管理的通則:建立新的計時器前,一定要先清除舊的,並把編號存回同一個變數。
 function startAuto(){
   clearInterval(pic_time);        // 先清舊的
   pic_time = setInterval(autobofang, 3000); // 再把新編號存回去
 }
不足:尚未做到 smooth 的平滑捲動過渡,左右箭頭的指示作用也還沒完成。另外,用 display 硬切換顯得生硬,後續可以改用透明度或位移搭配 CSS transition 來做淡入淡出。
- 上一篇文章: JS 輪播圖實作(二):加上左右箭頭的點擊控制
- 下一篇文章: JavaScript Form 表單技術總整理:從基礎驗證到正則與提交控制