bootstrap-fileinput 文件上傳插件使用筆記
編輯:關於JavaScript
這是我整理的第二個插件。選它的理由很直接:一是長得好看,和 Bootstrap 的整體風格統一;二是支持拖拽上傳,雖然我自己很少用這個功能,但界面確實豐滿了不少。唯一想吐槽的是回調事件的文檔實在難找,折騰了很久才弄明白它是怎麼接收返回值的。
相關地址
官方站點:https://plugins.krajee.com/file-input
GitHub:https://github.com/kartik-v/bootstrap-fileinput
效果預覽
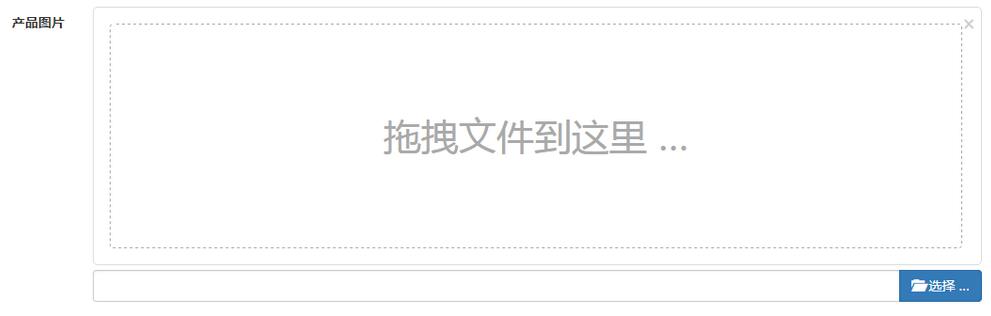
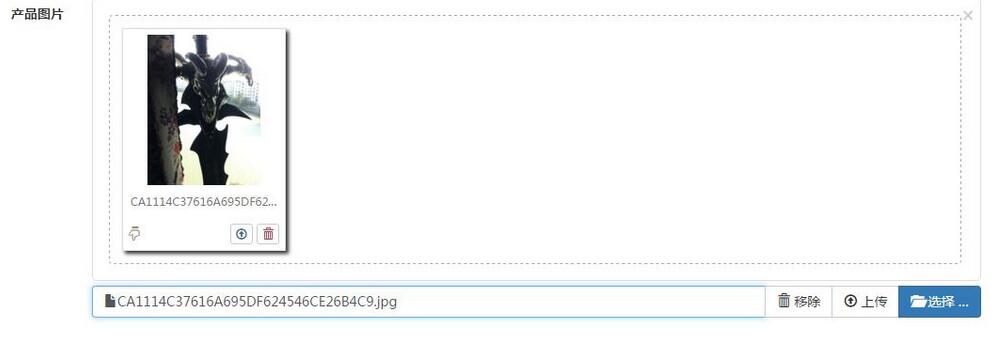
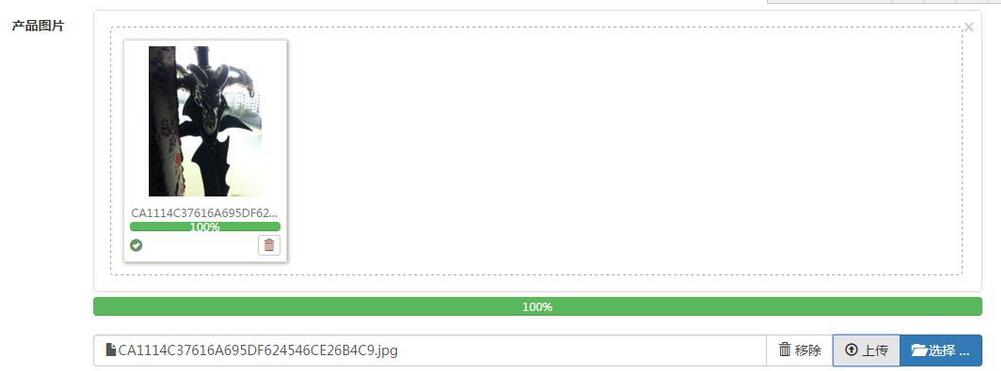
以我項目裡的新建產品頁面為例,基於 MVC 框架,界面長這樣:
上傳之前:
選中圖片後:
上傳完成:
引入文件
CSS:fileinput.css
JS:fileinput.js,以及漢化包 fileinput_locale_zh.js
HTML
accept 用來限制可選的文件格式:
<input id="imgUpload" type="file" class="file-loading" accept="image/*">
JS 初始化
幾個常用配置項說明:language: 'zh' 用於漢化(默認英文);autoReplace 允許同名文件替換;maxFileCount: 1 限制數量,我這裡做的是單圖上傳,需要批量上傳時調大這兩個參數即可;allowedFileExtensions 定義允許的後綴;previewFileIcon 用來自定義按鈕樣式,Bootstrap 本身提供了幾套按鈕配色和大量圖標可用。
$("#imgUpload").fileinput({
  language: 'zh',
  uploadUrl: "/Product/imgDeal",
  autoReplace: true,
  maxFileCount: 1,
  allowedFileExtensions: ["jpg", "png", "gif"],
  browseClass: "btn btn-primary",           //按鈕樣式
  previewFileIcon: "<i class='glyphicon glyphicon-king'></i>"
}).on("fileuploaded", function (e, data) {
  // 後端返回的 json 在 data.response 裡
  var res = data.response;
  if (res.state > 0) {
    alert('上傳成功');
    alert(res.path);
  } else {
    alert('上傳失敗');
  }
})
卡我最久的就是 .on("fileuploaded", ...) 這一段:先是不知道該用 fileuploaded 接收,後來又找不到 controller 返回的 json 藏在哪,最終確認是 data.response。
後端 Controller
[HttpPost]
public ActionResult imgDeal()
{
    uploadImages img = new uploadImages();
    var image = Request.Files;
    if (image != null && image.Count > 0)
    {
        string savePath = "../Uploads/";
        var _image = image[0];
        string _imageExt = System.IO.Path.GetExtension(_image.FileName).ToLower();
        string _imageName = DateTime.Now.ToString("yyyyMMddhhmmss") + _imageExt;
        //保存
        _image.SaveAs(Server.MapPath(savePath + _imageName));
        img.state = 1;
        img.name = _imageName;
        img.path = savePath + _imageName;
    }
    else
    {
        img.state = 0;
    }
    return Json(img);
}
這樣一條完整的上傳鏈路就通了:前端選文件、插件自動上傳、後端落盤並返回 json、前端在 fileuploaded 裡拿到結果做後續處理。
- 上一篇文章: 用 JS + CSS3 做出背景高斯模糊的炫酷彈窗
- 下一篇文章: Bootstrap Table 使用方式與後端分頁對接詳解
相關文章
-
jQuery 上傳插件 WebUploader 使用指南 Bootstrap Fileinput 搭配 Bootstrap Table 實作 Excel 匯入全流程 HTML5 拖拽上傳文件的完整實例解析 用 CSS 美化 input file 上傳按鈕:透明度加 label 的偷梁換柱法 input file 上傳文件類型的限制方法 jQuery Uploadify 上傳帶進度條的簡單實例 jQuery.liveFakeFile 插件:打造美觀的網站上傳控件 jQuery HTML5 文件上傳插件:支持拖拽的 html5uploader JavaScript 如何校驗文件上傳類型並解決 onchange 不重複觸發問題 原生 JS 和 jQuery 版實現文件上傳功能